The Auxiliary Heat Warning
How your thermostat signals a problem with your heat pump.
As a home inspector, I see a lot of things homeowners miss. Usually, it’s a leak in a crawlspace or a frayed wire in the attic. But recently, I came across a “silent” budget-killer that I want to make sure you’re aware of: The Auxiliary Heat Trap.
What Happened During My Recent Inspection
I was inspecting a home where the thermostat was set to “Emergency Heat.” When I switched it back to “Heat,” the system immediately kicked into Auxiliary (AUX) Heat.
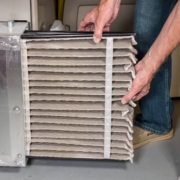
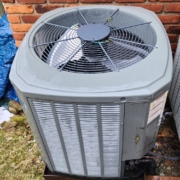
The Problem: The actual heat pump—the unit outside that is supposed to do the heavy lifting efficiently—wasn’t working at all. The home was being heated entirely by expensive electric heat strips (essentially a giant toaster in your ductwork).
The only way the occupant would have known they were overpaying by hundreds of dollars was to look at the small text on the thermostat screen.
Why “AUX Heat” Matters to Your Wallet
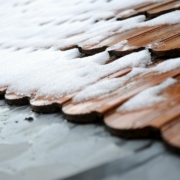
Heat pumps are incredibly efficient, but they have a limit. When it gets extremely cold (usually below 30^{\circ}\text{F} or 35^{\circ}\text{F}), they need a boost from “Auxiliary Heat.”
However, if you see “AUX Heat” or “Emergency Heat” on your screen when it’s 45^{\circ}\text{F} or 50^{\circ}\text{F} outside, something is wrong. Your outside unit might be failing, and your electric meter is likely spinning at double speed to keep up.
Scott’s Pro-Tips for Homeowners:
Do a “Thermostat Check”: Once a week, take a look at your display. If it says “AUX” or “Emergency” and it’s not a deep freeze outside, call an HVAC pro.
Listen to the Outside: If your thermostat says it’s heating, but you don’t hear the fan humming on the unit outside, your system is likely leaning on its backup strips.
Check the “Emergency” Switch: Ensure nobody bumped the thermostat into “Emergency” mode. This bypasses the heat pump entirely and uses the most expensive way to heat your home.
The Bottom Line: Don’t wait for a $400 electric bill to find out your heat pump has quit. A 5-second glance at your thermostat today could save you a headache tomorrow.